 I love the pizza my mum was making for us. It is on a rather thick bread-y dough, has a nice tomato concentrate base and topped with oregano, chorizo, red pepper slices and mozzarella. I have been doing it a lot myself as I enjoy this combination of toppings.
I have now updated it with a thin-based dough thanks to yet another recipe taken from Valérie - and yes that's in french. She is giving lots of tips, critically for the baking bit, which is unfortunately poorly documented in many recipes. Her recipe is here, I have translated it below.
Her dough is great, it will make nice bubbles if you let it raise twice and if the oven is really hot.
The quantities below are for two 30cm pizzas:
225g flour type 45 or 00
10g fresh yeast
135g water
13g olive oil
3.5g salt
Solubilise the yeast in lukewarm water (not warm).
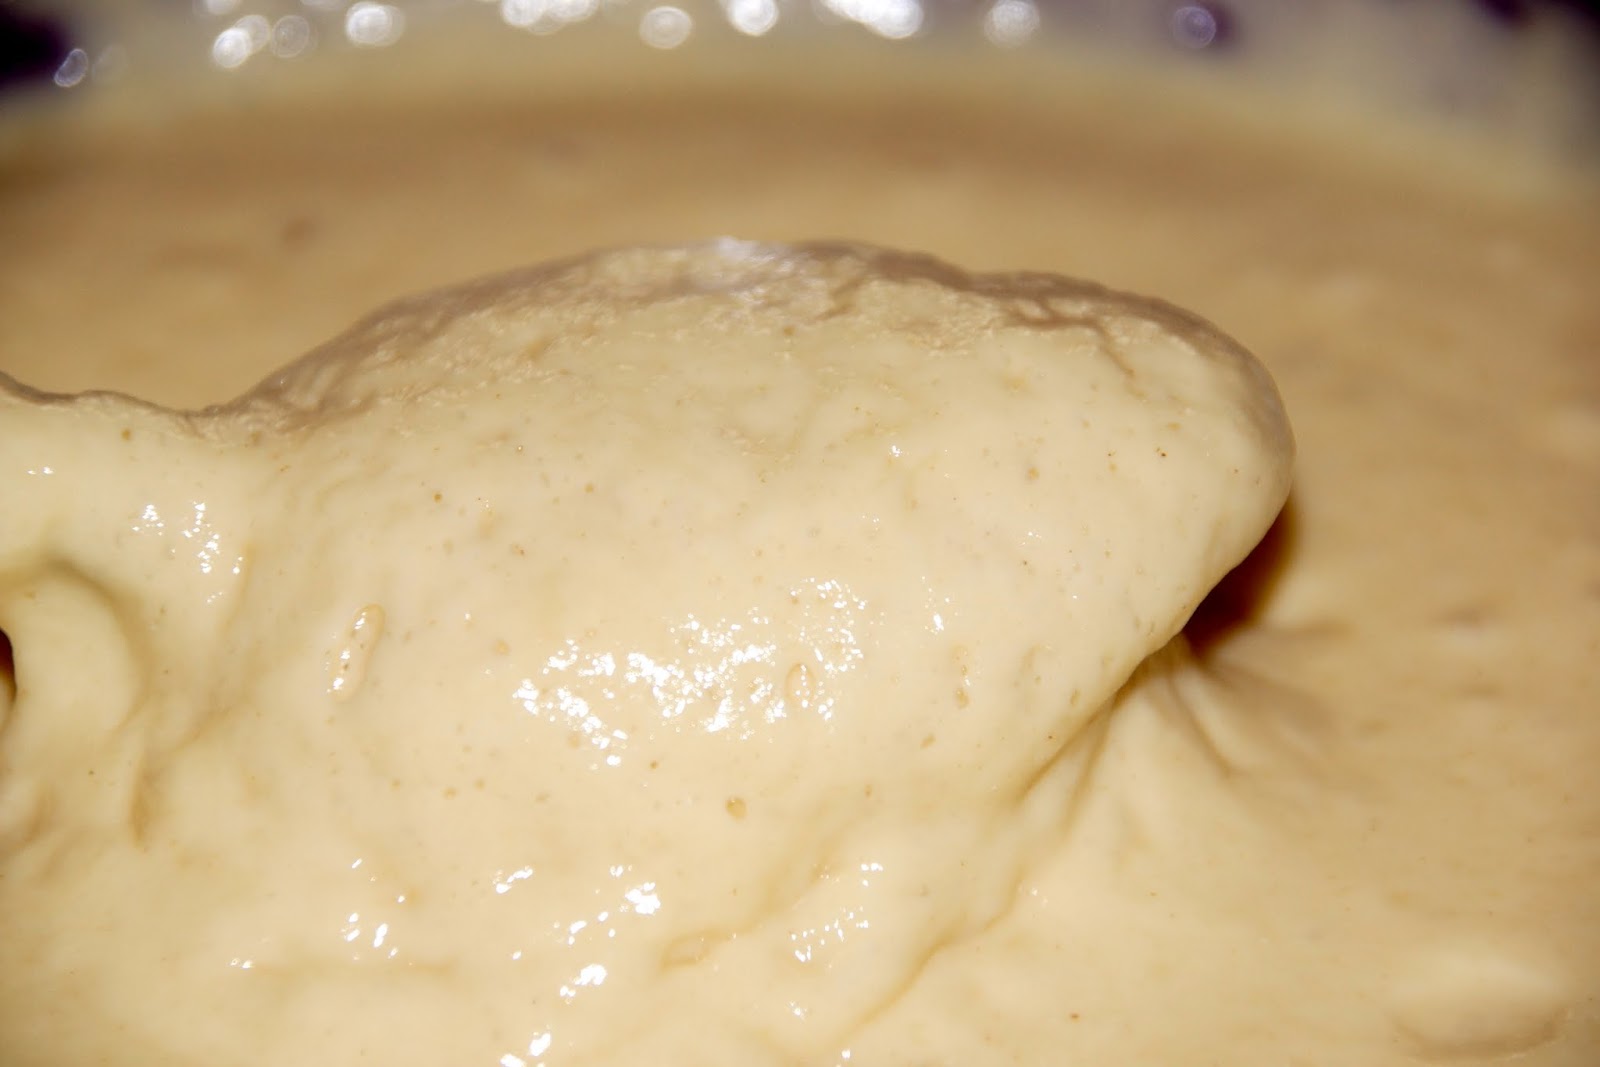
Add flour and oil and mix a bit. Add salt, then knead thoroughly with a robot (or with your hands!) until the dough is "as smooth as a baby bottom". She is using her robot at low speed for 10 minutes; I only have two settings on mine and leave it to turn for 3 minutes.
Cover the dough and let it grow for 1 hour and 30 minutes (it needs to double in size). Punch it with your fist to degas, then divide in as many portions as you need. (You may want to leave it to grow a second time here)
Warm up the oven at 280°C static heat.
Slightly flour your bench space, spread a portion of dough with a rolling pin very thinly if you want it thin and crusty or thicker (5mm) if you like it on the bread-y side.
Garnish your pizza as you like it.
Use either a non stick baking mat on a grid, or directly on a metallic tray or a pizza stone. The crispiest would be at 280°C with heat from the bottom of the oven. The thicker and moister version would be at 190°C in the middle of the oven.
Place in the oven for 8-10 minutes and monitor closely the baking.
Her dough is great, it will make nice bubbles if you let it raise twice and if the oven is really hot.
The quantities below are for two 30cm pizzas:
225g flour type 45 or 00
10g fresh yeast
135g water
13g olive oil
3.5g salt
Solubilise the yeast in lukewarm water (not warm).
Add flour and oil and mix a bit. Add salt, then knead thoroughly with a robot (or with your hands!) until the dough is "as smooth as a baby bottom". She is using her robot at low speed for 10 minutes; I only have two settings on mine and leave it to turn for 3 minutes.
Cover the dough and let it grow for 1 hour and 30 minutes (it needs to double in size). Punch it with your fist to degas, then divide in as many portions as you need. (You may want to leave it to grow a second time here)
Warm up the oven at 280°C static heat.
Slightly flour your bench space, spread a portion of dough with a rolling pin very thinly if you want it thin and crusty or thicker (5mm) if you like it on the bread-y side.
Garnish your pizza as you like it.
Use either a non stick baking mat on a grid, or directly on a metallic tray or a pizza stone. The crispiest would be at 280°C with heat from the bottom of the oven. The thicker and moister version would be at 190°C in the middle of the oven.
Place in the oven for 8-10 minutes and monitor closely the baking.


