Friday 24 January 2014

At Mickey's!!

During the previous holidays I went to Disneyland Paris - yay! We enjoyed our favourites attractions, the parades, the show they do with the castle, strolling along happy-face people… and queuing most of day! 

The main street


Pirates of the Caribbean


Princesses are excessively mannered

Space Mountain at night

Playing with the Christmas Tree lights 

 To finish the day, a spectacular show with lots of effects


Friday 17 January 2014

My Birthday

A couple of weeks ago it was my birthday - yay! We had a party, especially as it happens to be new year's evening… 

Louna helps Sarah making tartines
Bread, olive oil, rocket, parma ham, dried tomatoes
topped with fried garlic and pine nuts

… a real treat!

For dessert: a crepe cake (recipe here)

Wednesday 15 January 2014

Step-by-step Hand-Felted Necklace

As I went home for holidays, I assisted my sister making necklaces! Today I show you the step-by-step confection of a hand-felted necklace.

First step is to choose assorted colours of wool and make a knot with the fiber.
Second step is to push fiber ends inside, shaping the knot into a ball with a hook.
See the progression, from folded knot to tighter ball.
And here are all the balls of wool for this necklace.

Third step is to felt the wool balls, using soapy water and hand workout! The idea is to make the ball tighter and tighter (but not too much either as one needs to embroider them) rotating them in the palm of the hands.
Once they have dried, it is the tricky part of finding a quantity of small beads & buttons to insert between two felted beads matching the style and colours.
Then one needs to arrange them in a balanced and harmonious order.
Then sew all together on sewing thread. We use satin cord for the visible part of the thread.

Finally, each of the felted bead is embroidered following a pattern, like spiral, stars, dots or leaves.  

Thursday 2 January 2014

Planetoid necklace

 
We first started by a stack of assorted colours using both soft & dry clay.


Passing it through a clay gun the strings have a nice shading (the dry clay makes the cracks). 

The rods are rolled up on themself to make a spiral.

And flattened. Check out the nice cracks!
These patterns are then mounted on a bead. That is the tricky part as we need to hide the ends and make it smooth.
Already the first batch!
Then it is cooking time at 110°C during 30 minutes on a layer of cardboard so that they do not stick together.
Once cooked, one has to sand and polish them (microfiber fabric is great for that).
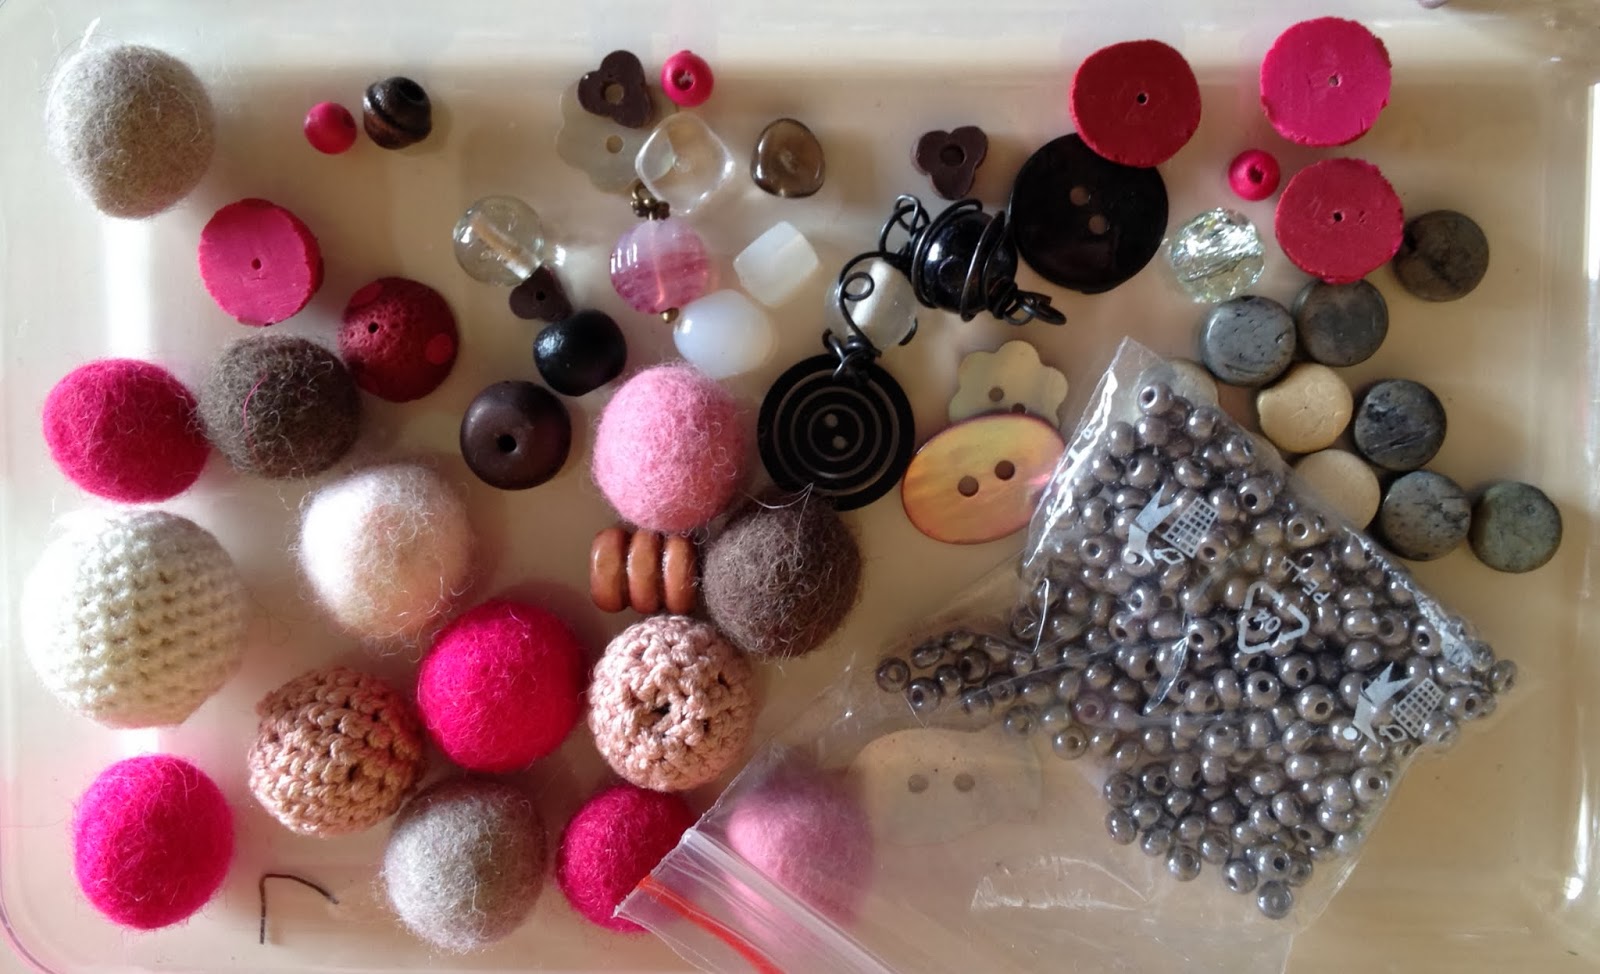
To mount/assemble them one needs lots of material... and inspiration!
And there it is, agremented with the addition of wooden beads among other Fimo beads.