Showing posts with label Cuisine. Show all posts

Friday, 16 September 2016

Blueberry greek yogurt cake

This summer I have been doing Julia's blueberry greek yogurt cake and we love it! It's light and fruity, perfect for the summer.


Here is how it goes:
Beat 50g soft butter with 125g sugar. Mix in 1 egg150g greek yogurt and a splash of vanilla. Incorporate 125g flour + raising agents. Place in an ovenproof dish, put the 200g blueberries on top (or fold them in) and bake for 25-35 minutes at 180°C. 
We add a spoonful of yogurt and savour it!


Friday, 12 February 2016

Perfect Potstickers!

I found the "Perfect Potstickers {recipe} from scratch!" - including Dumpling Dough - on Pinterest and we were amazed by the result... they are excellent!
I am following the dumpling dough recipe to the letter and use my pasta attachment to roll the dough as thinly as I would dare (number 6 on KitchenAid). I understand that ideally you would roll them by hand in order to produce thicker middle where you need strength to support the filing and thinner edges where the dough is folded. But hey, I am happy enough with the uniformity of the pasta machine. I then cut circles with a scone cutter (hence the fluted look of mines). This dough is sticky enough that you don't need further water to make the edges stick together. I keep my bench floured with corn flour as it does not get absorbed by the pasta dough.
As filing, minced pork seasoned with ginger, shallots, soya sauce, teriyaki sauce and Char Siu sauce. Nothing precise; I am aiming for having salty + sweet + vinegary / rice wine components.
Cooking is easy: fry the dumplings in a couple of tsp of neutral oil until their bottoms are brown. Add to the pan about 100mL of water and cover immediately for 5-7 minutes. The dipping sauce is making them all shine and come together. Just oil, soya sauce, teriyaki sauce, Char Siu sauce and chilli flakes or powder. We love them!


Thursday, 24 September 2015

La purée de pommes de terre façon Joel Robuchon

I was lucky to try the potatoes puree from Joel Robuchon: I was enthralled and immediately wanted to try making some myself. His recipe is all over the web and I learnt that he won lots of prizes for this purée. In brief, the key point is to remove all water and put a jaw-dropping quantity of butter. Here it is.

La purée de pommes de terre, recette de Joël Robuchon

Ingrédients
  • 1 kg de pommes de terre (rattes ou BF 15) (rattes potatoes: fingerling with a nutty flavor and smooth, buttery texture)
  • 250 g de beurre bien froid (cold diced butter)
  • 250 g de lait entier (whole milk)
  • gros sel (salt)
Préparation
  • Lavez les pommes de terre, mais ne les pelez pas. Wash potatoes but do not peel.
  • Dans une casserole remplie de deux litres d’eau froide additionnée d’une cuillerée à soupe de gros sel, faites cuire les pommes de terre à couvert jusqu’à ce que la lame du couteau plantée dedans en ressorte aisément (25-30 minutes environ). Coupez le beurre en petits dés, mais maintenez-les au réfrigérateur. Put whole potatoes in 2L of cold salted water and cook for 25-30 minutes with lid on. Dice the butter and keep in the fridge.
  • Dès que les pommes de terre sont cuites, égouttez-les. Pelez-les encore tièdes. Passez-les au moulin à légumes équipé de la grille la plus fine, au-dessus d’une grande casserole. Portez la casserole sur feu moyen, faites légèrement dessécher la purée en la remuant vigoureusement avec une spatule en bois (5 minutes environ). Drain the potatoes, peel, mash them thinly while still warm and transfer in a big pan. Dry the mashed potatoes on medium heat, while vigorously mixing with a wooden spatula; it takes about 5 minutes.
  • Dans le même temps, passez une petite casserole sous l’eau, videz-la sans l’essuyer. Dans cette casserole, faites bouillir le lait. Rinse a small pan under water, and boil the milk in.
  • A feu doux, incorporez petit à petit aux pommes de terre le beurre très froid, bien dur, et coupé en morceaux, en remuant énergiquement la préparation afin de la rendre lisse et onctueuse. On a small heat, slowly add the butter to the mashed potatoes, mixing thoroughly so that the puree becomes sleek and smooth. 
  • Toujours à feu doux, ajoutez le lait très chaud, en petit filet, toujours en mélangeant énergiquement jusqu’à ce qu’il soit entièrement absorbé. Goûtez, salez et poivrez. Still on a low heat, slowly add the hot milk and whisk energetically until you are happy with the texture (more milk makes it more runny).
  • Pour rendre la purée encore plus fine et légère, vous pouvez la passer à travers un tamis à toile très fine. You may pass the puree through a thin strainer to make it even more thin and light.
Boiling potatoes with skin on for 30 minutes

Peel the potatoes while still warm

Thinly mash the potatoes (mine were roughly mashed)

Dry the mashed potatoes on a medium heat for 5 minutes

Incorporate 1/4 of the weight of potatoes of cold butter

The purée is becoming silky

Add the hot milk (1/4 again)

Whisking vigorously - I cheated and used the robot

Here it is; mine is not so smooth as I do not have a thin puree-ing tool
but the taste is amazing!!!

Thursday, 27 August 2015

Confit Pork Belly

I enjoy roasted pork belly and wanted to go further with a confit pork belly.
The recipe I selected is from here (Angry food blog from Lady and pups). She leaves the pork in the brine for 6 hours in the fridge, then confit it for 4 hours in the oven, press it overnight and finally roast the skin on fire. Here it is:

The brine contains salt, pepper, honey, star anise and water. 

I left the pork in for 6 hours however would try shorter next time (maybe 2-3 hours) as the end product was too salty for me.

After the brine it's fat bath (mix of sunflower and olive oils for me).
Looks like a bit like a preserved organ for anatomy...

After 5 hours of confit, the meat is soft and detach itself...
Looks good, but the house smells like a fast-food.

Then it's pressing down overnight to reattach the fibers together and give it a shape.
I used two ovenware that fit one inside the other and cans for weight.

The following day, the meat look nice but the skin is gelatinous : time to get it crackling!

She suggested grilling on the pan but it sticks a lot so next time I will try 250°C in the oven instead.

In the end this took lots of time (over 26 hours!) and I did not enjoy it as much as I was expecting... We actually preferred the usual roasted pork belly.

Saturday, 27 June 2015

Pizza with a thin crust

I love the pizza my mum was making for us. It is on a rather thick bread-y dough, has a nice tomato concentrate base and topped with oregano, chorizo, red pepper slices and mozzarella. I have been doing it a lot myself as I enjoy this combination of toppings.


I have now updated it with a thin-based dough thanks to yet another recipe taken from Valérie - and yes that's in french. She is giving lots of tips, critically for the baking bit, which is unfortunately poorly documented in many recipes. Her recipe is here, I have translated it below. 
Her dough is great, it will make nice bubbles if you let it raise twice and if the oven is really hot.


The quantities below are for two 30cm pizzas:
225g flour type 45 or 00
10g fresh yeast
135g water
13g olive oil
3.5g salt

Solubilise the yeast in lukewarm water (not warm). 
Add flour and oil and mix a bit. Add salt, then knead thoroughly with a robot (or with your hands!) until the dough is "as smooth as a baby bottom". She is using her robot at low speed for 10 minutes; I only have two settings on mine and leave it to turn for 3 minutes.
Cover the dough and let it grow for 1 hour and 30 minutes (it needs to double in size). Punch it with your fist to degas, then divide in as many portions as you need. (You may want to leave it to grow a second time here)

Warm up the oven at 280°C static heat.
Slightly flour your bench space, spread a portion of dough with a rolling pin very thinly if you want it thin and crusty or thicker (5mm) if you like it on the bread-y side. 
Garnish your pizza as you like it. 

Use either a non stick baking mat on a grid, or directly on a metallic tray or a pizza stone.  The crispiest would be at 280°C with heat from the bottom of the oven. The thicker and moister version would be at 190°C in the middle of the oven.
Place in the oven for 8-10 minutes and monitor closely the baking.

Monday, 22 June 2015

Louna's recipe for fluffy pancakes

We don't do pancakes in France, because we have nice crepes already. Now that I am living in the UK, I am still making French crepes, but also trying out the thick small spongy version of it - aka pancake. Most of the recipes use buttermilk, which implies some sort of planning as I don't routinely have that in my fridge. 
My sister recently revealed me that buttermilk could be swapped by yoghurt + milk and gave me an amazing recipe that cannot go wrong!  
The recipe is for 12 pancakes (4 hungry people).

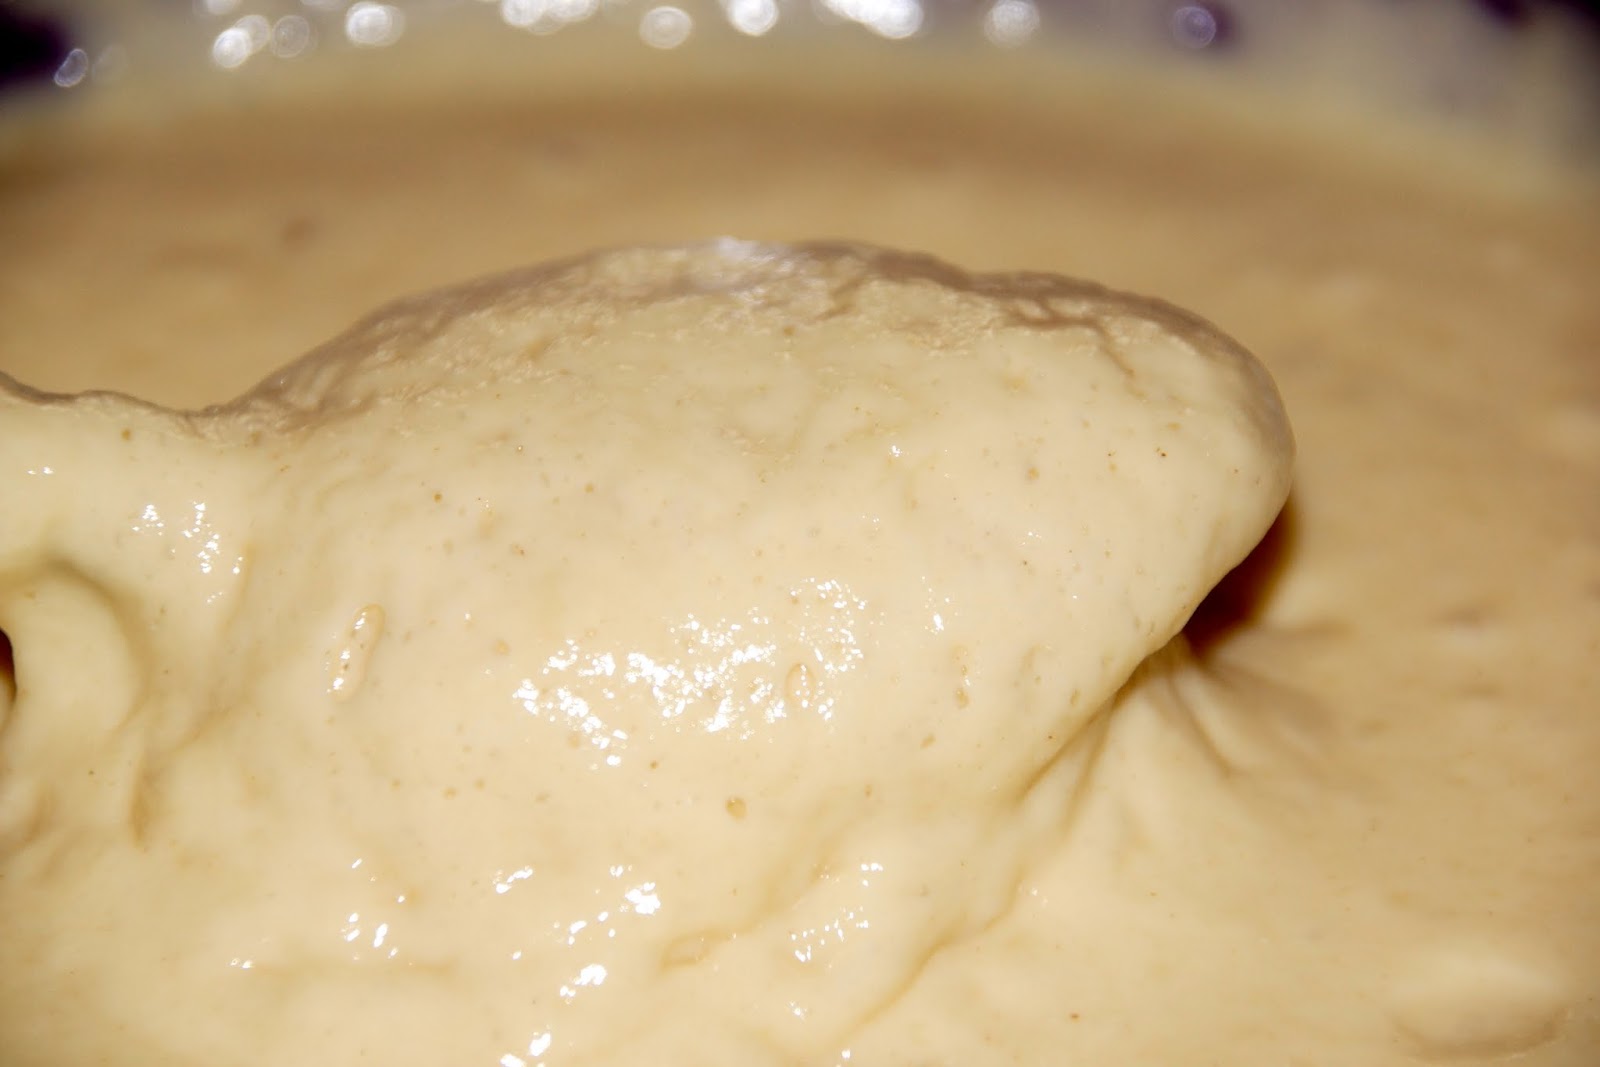
Mix the liquid ingredients: 2 eggs with a total of 250g yoghurt + milk. In another bowl, mix the solid ingredients: 200 self-raising flour, salt and 50g sugar. Then mix solids and liquids, without insisting. Leave to rest for 15 minutes. The mix is thick and bubbly.

Cook for a couple of minutes until bubbles appear at the surface, then flip over. The pancakes raises immediately.


Check out how fluffy, light and airy they are!

They are perfect with the usual bacon and maple syrup...

...As well as with red fruits and chocolate sauce.


Monday, 15 June 2015

Tortellini with Blake

This weekend Blake showed me how to make tortellini. It was amazing!

We use his Kitchen Aid attachment to roll the dough - which is quite nice as it uses the motor to turn the rolls, so no need of a spare hand to crank it. 
The lowest speed setting is really comfortable (not stressful at all) to work with. 
The width may be smaller (around 15cm) than most of the manual machines I have seen, but I do not think that is a problem.


As a filling, we use mince pork seasoned with salt, peppercorns and fennel seeds. This is on the dry side so really easy to work with.
It is also raw and we use a small enough volume that it will cook in 2-3 minutes, which is the time the pasta dough needs.

We cut small squares (half the width of the dough sheet, so around 7cm x 7cm) and put a small teaspoon of the filling in the middle. 
We then wet two sides and fold in a triangle, removing the air so that the dough is closely shaping the filling. 

Next is an artistic folding of the two acute angles of the triangle over and around the filling that you push and fold like a handbag would hanging from its handle. Wrap one angle around the filling then the other one over the first and tuck all nicely. 
I guess you can find videos on the web if you are interested in the details. It took me a couple of times to get it right, but once it is boiled you don't notice the difference between perfect and not so nicely shaped! 

As mentioned previously, the tortellini cook in a couple of minutes in actively boiling water. Check that the part with all the folds is tender between your fingers as it is going to take longer.

We serve it in a fragrant beef broth and topped with onion greens. It is excellent! Perfect for a not so warm day - well any day in UK really.


We did around 50; counting 10 per person, and it took us only 
half an hour from rolling to cooking


Sunday, 14 June 2015

Tomatoes Tarte Tatin

I love tarte Tatin. Caramelised apples on a buttery pastry. This is not something one messes with and I have always seen the other-than-apple tarte Tatin as a failed way to improve it. I have never been so wrong because the idea is actually to apply this marvelous combination to other ingredients to try to improve them (and not the original tarte).
But then I read this appealing tomatoes tarte Tatin recipe:


PART I
- 400g cherry tomatoes cut in halves and de-seeded (otherwise pastry gets soggy)
- 1 red oignon
Lay out on a baking tray with a drizzle of olive oil, salt and pepper. Bake at 180°C for 20 minutes.

PART II
- 30g butter
- 2 tbsp balsamic vinegar
- 2 tbsp brown sugar
- 2 cloves or garlic
- 2 tbsp thyme
Color for a couple of minutes in the pan then mix with the tomatoes and onion. Lay the pastry above it, tucking in the edges and bake for 20-30 minutes at 200°C.

It was amazing!! I loved the balance between sweetness of the caramelised onions and sharpness of garlic & vinegar.


Wednesday, 10 June 2015

Spinach Pasta

Last test with the pasta machine: spinach pasta!

I used my TurboTup (from a Tupperware diner party) to mix 100g cooked spinach (just 1 min covered in microwave) with 1 whole egg.

I incorporated this liquid mixture into 200g flour 00.

The dough is not as green as I would have hoped (I guess it needs more processing for a solid green), and softer than normal pasta. I dusted it with semolina to be able to hand-cut folds into thick parpadelle.
I let cook for 1 min in salted water boiling actively.
Here they are, served with the leanest duck breast I have ever cooked (I guess they don't force-feed them around here).
I find the pasta has a nice spinach flavor and looks better than pasta and spinach (as it often makes small blobs at the bottom of the dish).

That's the end of my pasta-test and I have to admit that after five consecutive days of pasta I am a bit sick of it... Still, I am excited about ravioli-making and that may be a reason big enough for me to get a machine!

Monday, 8 June 2015

Chocolate Pasta

This week I have been trying out a pasta machine. I did simple tagliatelle, then my two favorites ravioli (prawn & chives, spinach & ricotta) and I am now going wild making chocolate pasta (I did not even now it existed before a colleague warmly recommended it to me!).


I am replacing 1/10th of the flour by 70% dark cocoa powder (10 grams cocoa for 90g flour). The dough has an homogenous nice dark chocolate color which does not alter while cooking. 
Because the recipe does not have any sugar in it and as the chocolate is dark (70%) the taste is of almost bitter chocolate, so in my opinion this calls for a sweet topping. 
Many recipes suggest to serve them with red berries and/or vanilla (ice) cream. I did not have any of those on hand so chose to topped the pasta with honey & ricotta instead.


It is my first time eating chocolate pasta and I was really happy with them (of course they are nice: there is chocolate!). 

Thursday, 4 June 2015

Pasta machine?

I love pasta. They are cheap and easy to prepare, but I have heard many times that making your own is totally worth it. So before buying another kitchen gadget, we've borrowed one from colleagues for me to try!

The habit of passing the Fimo paste (polymer clay for jewelry) takes over and I am working the dough until it gets soft.
Then I go down the thickness and appreciate having a machine - that's an easy job compared to a rolling pin! 


It is so thin we can see my fingers through it!

I quickly learn that lightly flouring the cut pasta is not enough to prevent them to stick together!

Here is the result of the first test with tomato sauce

They are amazingly silky, soft and thin (I chose to make this first batch really thin). Taste-wise: no difference really, they are quite blank (did not blend in any seasoning). 
Overall I enjoyed the experience, all went really well and the process is surprisingly quick. I loved this silky texture and I look forward to try new shapes. I am thinking of trying thicker, ridged and ravioli. Any suggestion is welcome!!